Observing life from a pond
Compound microscope activity sheet
Materials
- Glass microscope slides
- Plastic cover slips
- Paper towels or tissues
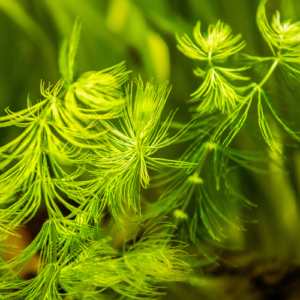
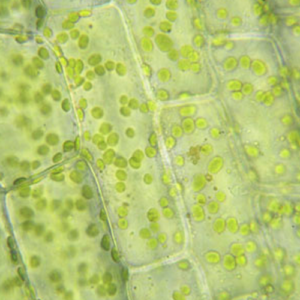
- Samples of protists and/or volvox
- Plastic pipette or dropper
Methods
1. Place a drop of pond water or commercially bought Volvox or protozoa on a microscope slide with a pipette or dropper.
Tips:
- Too small a drop may result in the specimens being crushed, so be prepared to make another slide if necessary.
- Larger volvox can be prevented from being crushed using a chamber made of tape (see next page).
- A stereomicroscope may be helpful in finding organisms for transferring to a slide.
2. Place a coverslip on top and observe
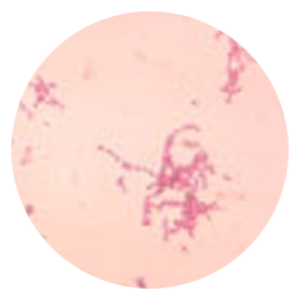
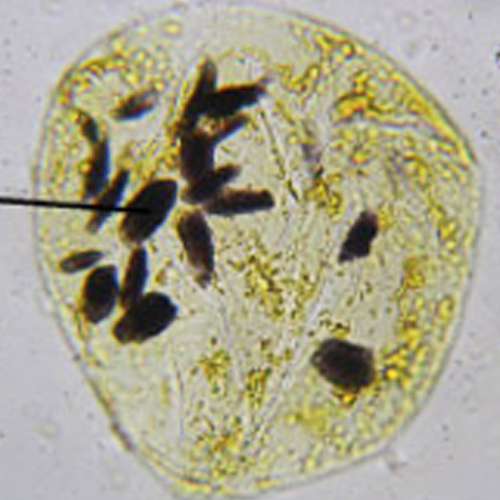
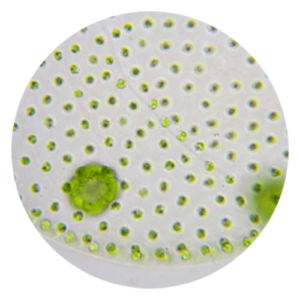
Protists or Protozoa are a diverse group of eukaryotic microorganisms. They often have little in common besides a relatively simple organisation: either they are unicellular, or they are multicellular without specialised tissues (e.g. Volvox). Many protists are photosynthetic and are vital primary producers in ecosystems, particularly in the ocean as part of the plankton (phytoplankton). Other protists, such as the Kinetoplastids and Apicomplexa, are responsible for a range of serious human diseases, such as malaria and sleeping sickness.
Fun fact:
The phytoplankton in the oceans produces most of the oxygen of the Earth’s atmosphere – about half of the total amount produced by all plant life.
Making a Chamber with Tape
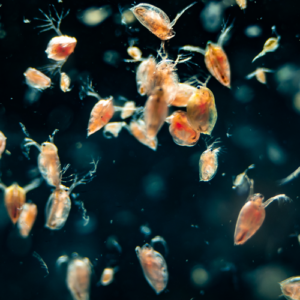
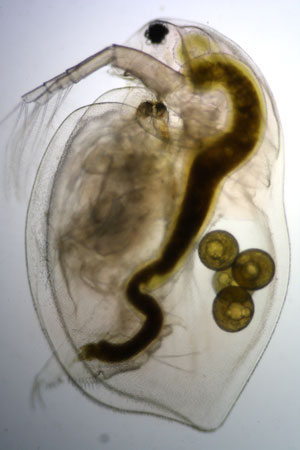
This method can be used when imaging relatively thick samples (e.g. Daphnia or Volvox), which will probably be damaged when mounted directly between a coverslip and a slide.
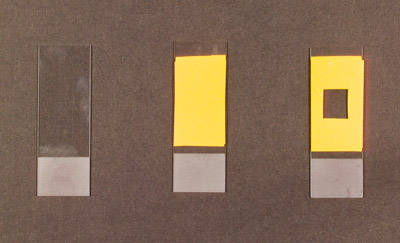
- Place one to three layers of electrician’s tape on a microscope slide (the number of layers depends on the thickness of the sample you are imaging).
- Using a Stanley knife, razor blade or scalpel, carefully score an approximately 1 cm by 1 cm square in the layers of tape.
- Peel away the central square of tape to make the chamber.
- Add the sample in a drop or two of liquid.
- Gently place a coverslip on the sample.
- Wick away any excess liquid by inserting tissue paper next to the cover slip.