DIY Microscopy
Setting up your own activities with microscopes is easy, and good quality educational microscopes can be surprisingly affordable. Follow these 3 steps to get started!
Step 1
Choose a type of microscope
Step 2
Collect samples
Step 3
Look into the microscopic world
Step 1
Choose a type of microscope
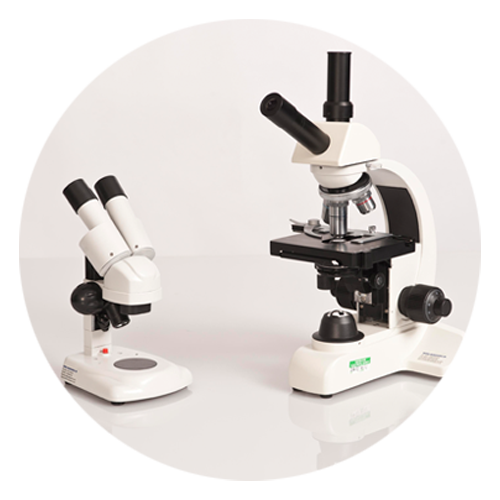
There are two main types of optical microscopes: low-magnification stereomicroscopes and high- magnification compound microscopes. Your choice depends on what kind of samples you want to see.
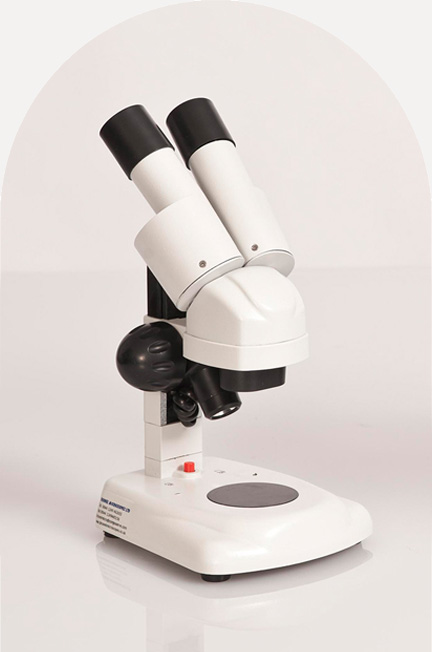
Stereomicroscopes
2-100x magnification. Samples can be viewed without any preparation. Lower magnification for viewing sample surface detail in 3D.
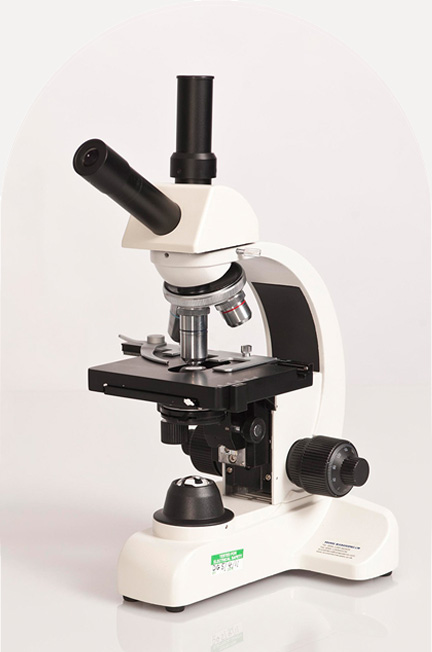
Compound Microscopes
40-1000x magnification. For smaller samples like cells or bacteria. Samples must be thin and mounted on microscope slides.
Step 2
Collect samples
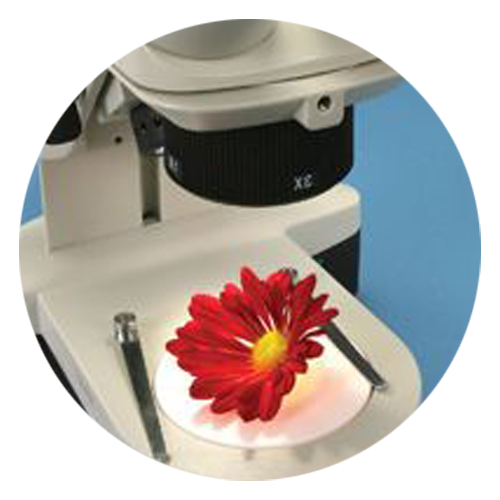
Stereomicroscopes
With a stereomicroscope, you can look at a wide range of biological samples that can be easily found in your garden or further afield. You could look at insects, flowers, seeds, feathers, and worms to your fingers and hair. There are many more you could try – imagination is your limit!
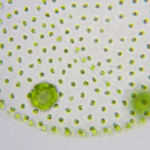
Compound microscopes
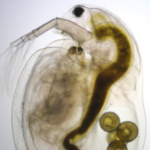
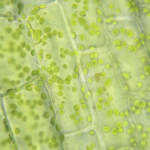
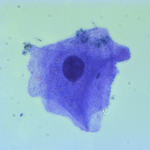
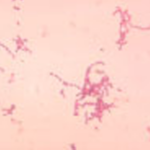
Compound microscopes allows us to see more details like cells in your biological samples or microorganisms like bacteria. A few examples you can try observing are water fleas, bananas, onions, leaves, pollen, and human cheek cells.
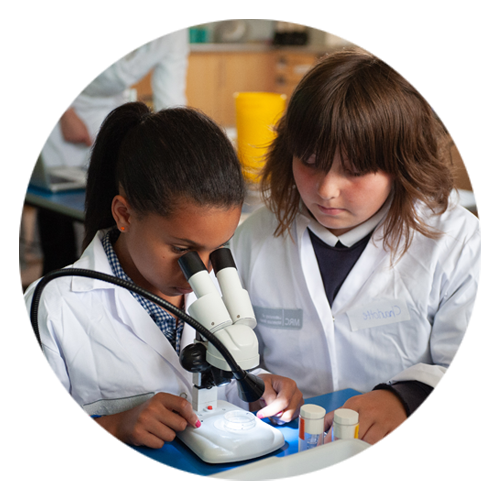
Step 3
Look into the microscopic world
After you have collected all your samples it’s time to mount them on the microscopes and start observing!
Stereomicroscopes
See the step-by-step guide on how to mount your samples and operate a stereomicroscope.
Compound microscopes
See the general guide on how to prepare samples and operate compound microscopes. Or see activity sheets below for specific samples.
Compound microscope activity sheets
The main aim of this section is to look at cells. We list here a few live samples with interesting cell types that we have tested and recommend. In each activity sheet, you will find a list of materials and step-by-step instructions on how to prepare your sample.